
My Studio
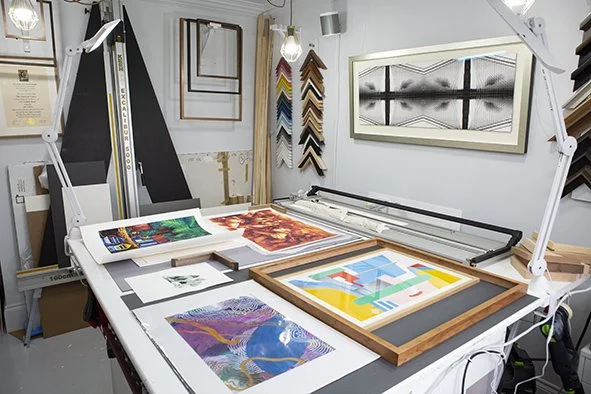
I’m Al. I started The Nunhead Framer in 2018, a few months after our daughter was born. Working from a studio at home in Nunhead gave me the freedom to build the business around family life, and I’m still working from that same studio today.
I design and make every frame myself. Some artwork needs a straightforward, well made frame; other work calls for more choice in the mounting, materials and finish. That’s why I offer both Essential and Bespoke framing.
When you get in touch, you’re speaking to the person who will assess your artwork and make your frame.
My family and I have called Nunhead home since 2016. I’m a photographer and maker, with professional photography work in theatre, advertising and portraiture alongside fine art. I’ve also worked with furniture, sculpture and pottery, and I’m a classically trained actor. You might have seen me in a local pottery studio or around the Nunhead Art Trail.
I like getting the details right: the wood, the mount colour and the breathing room around the artwork. Even 5mm can make a difference.
How I work
I work from my home studio in Nunhead, South East London. Consultations, artwork drop-offs and collections are all by appointment, so we start with the details before booking a visit.
Bespoke
Email me directly or use the Bespoke enquiry form. Send photographs, dimensions and a little about what you have in mind. You don’t need to have a frame design worked out—that’s where I can help.
I’ll email you a starting design, my recommendations and an estimated price. If you’re happy with the initial cost, we can book a consultation to look at your artwork, try samples and refine the design.
Bespoke enquiryEssential
Choose your size, frame, mounting and glazing online in Build Your Frame, with the price shown as you go.
I’ll review your choices and artwork details by email before arranging a drop-off. There’s no studio design consultation, which keeps the process quicker and the price more accessible. I still check the artwork and make every frame myself.
Build Your FrameBefore your visit
Artwork I can frame
I frame prints, original works on paper, photographs, canvases and selected objects. Larger artwork is subject to assessment and what I can safely accommodate in the studio. Send photographs and dimensions if you’re unsure.
I don’t offer frame repairs, broken-glass replacement or mounts, empty frames or cut glass on their own. I also don’t take on textiles, samplers or sports shirts.
Measuring your artwork
For artwork on paper, send the full width and height of the sheet, including any plain border.
Paper size
The full sheet, measured from outside edge to outside edge.
Image size
The printed or illustrated area. This may be smaller than the paper. It’s useful additional information, but the full paper size is what I need first.
170 × 257mm
Canvas
For an unstretched canvas, send the full canvas width and height, the image width and height, and a photograph showing all the surrounding material. This lets me assess the margins available to wrap around the stretcher bars. For a stretched canvas, send its width, height and depth, plus front and back photographs.
Already framed?
Send photographs and the measurements you can get safely. Please don’t remove delicate artwork just to measure it.
Your appointment
Please wait for me to confirm a day and time before coming over or arranging for artwork to be delivered. A Bespoke consultation usually takes around 20 minutes per artwork; let me know when booking if you think you’ll need longer.
The workshop contains machinery, and I see one customer at a time. Please come without children or dogs.
Evening drop-offs and collections between 6pm and 7pm may be possible by arrangement.
Usual hours and contact details are on the Contact page.
Contact and appointmentsBooking and collection
Once we’ve agreed the design and price, a 40% deposit books your work in. I’ll confirm the turnaround time. When it’s ready, I’ll email with photographs and wrap your frame for collection. The balance is paid when you collect.
Turnaround and priority framing
Most projects take around two to three weeks from artwork drop-off and booking. The work involved, materials and my schedule can affect this; I’ll confirm an expected completion date when we book your project.
If you need it for a particular date, tell me when you enquire. Priority framing may be available for an additional 25%. I’ll confirm the date and charge before booking.
At busy times I may pause new commissions and update the website.
Prices, deposits and payment
I aim to reply to Bespoke enquiries and Essential requests within three working days. The final price is agreed after I’ve checked the artwork and confirmed the details. Any changes are explained before you decide to proceed.
Bespoke estimates are valid for 14 days. Website prices may change for future requests; work already agreed and booked in is not affected.
The 40% deposit is paid at artwork drop-off, with the balance at collection. I accept credit and debit cards, Apple Pay and Google Pay. The studio is cashless.
If you need to cancel
Please email as soon as possible. I’ll refund your deposit less reasonable costs already incurred for your project, such as materials ordered specifically for it or work already carried out. I’ll explain any deduction and refund the remaining amount. This does not affect your rights if the finished work is faulty or not as agreed.
Using a Gift Certificate
Mention your Gift Certificate when you enquire or reply to my first email. Include its code and the recipient’s name, and bring it when you drop off your artwork.
It is applied to the final balance, rather than the 40% deposit. It cannot be exchanged for cash or used after its expiry date. No change is given if the balance is less than the certificate’s value.
Collecting your frame
Collection is by appointment. I don’t currently offer delivery, so plan suitable transport and any help you’ll need with a larger frame. If you’re coming by taxi, arrange your return journey before arriving; this is my home studio and I don’t have a waiting area.
Please collect within seven days of my ready email unless we agree another date. Work left beyond the agreed period may incur a storage and handling charge of £5 per day. I’ll contact you before applying a charge.
More than what you see
How your artwork is mounted matters. The materials, hinges and methods inside the frame all play a part in its preservation.
I use conservation grade mounting materials and techniques as my normal approach. For more delicate or specialist artwork, we can look at museum framing and other mounting options. Close Mounted uses permanent adhesive, which I explain before we agree the work.
Window, float, shadow float and Close Mounted
Window mount
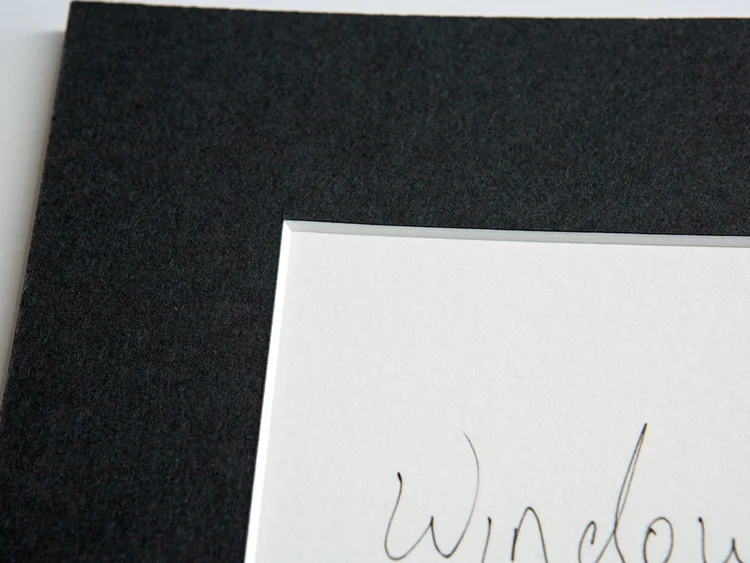
A window aperture surrounds the artwork and overlaps its edges. It gives the artwork breathing room and helps it sit flatter within the frame.
Float mount
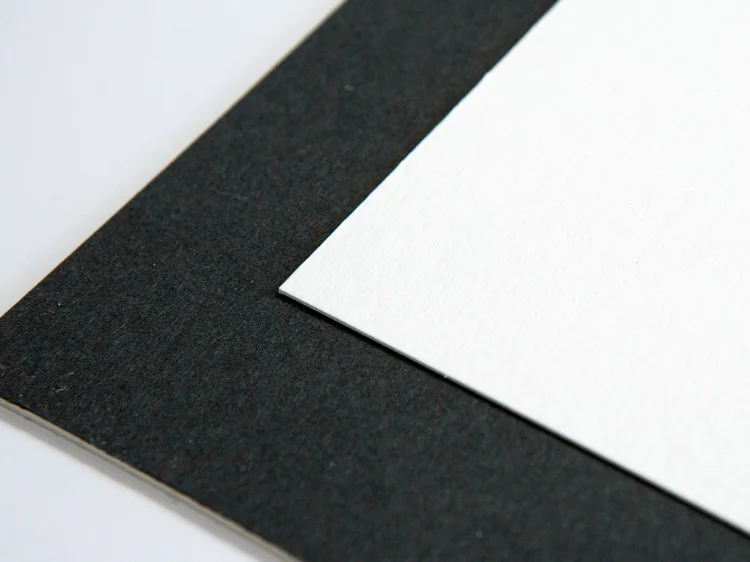
Shows the full sheet and its edges. A good way to keep handmade papers and deckled edges visible.
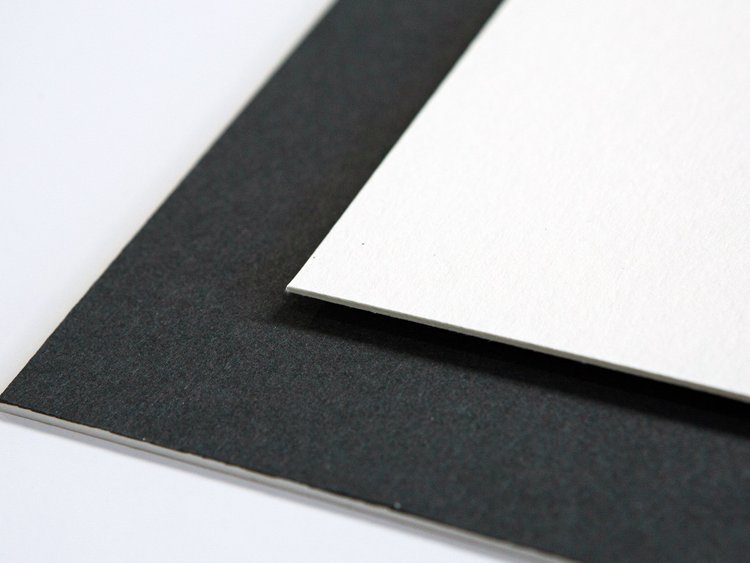
Shadow float mount
Raises the artwork above the backing, leaving a gap and a shadow beneath its edges.
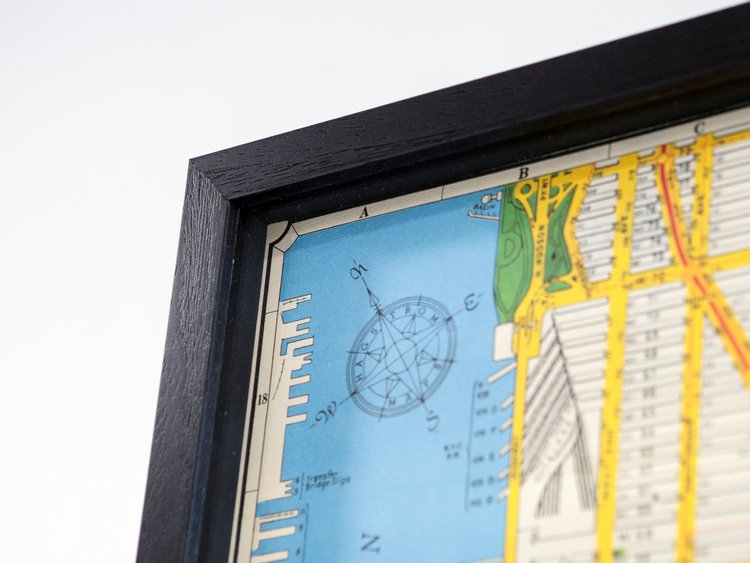
Close Mounted
Suitable inexpensive posters, such as some glossy museum gift shop posters, are bonded to a rigid board for a flat finish. The adhesive is permanent; this is not a conservation method.
Paper movement
With either float mounting style, the paper remains free to move. Gentle waves or movement can be visible and should be expected with this style. A window mount is usually the better choice if you want the artwork to sit as flat as possible. Close Mounted gives a flat finish for suitable posters where conservation is not the priority.
Plain borders
Some unprinted borders may be suitable for trimming, with your agreement. This permanently removes paper. Signatures, edition numbers and important details should be preserved; trimming isn’t a general way to fit oversized artwork into a smaller Essential frame.
Mount decoration, colour and depth
Mount decoration can be used wherever mountboard is visible. One of my favourites combines a float mount with a window aperture around it, leaving a gap before the window mount begins.
Double and multiple mounts
Layers of mountboard reveal narrow borders of colour around the aperture.
V grooves
Fine channels cut into the mount surface to reveal its core.
French matting
Hand drawn wash lines and painted wash panels around the artwork.
Shaped apertures
Offset or stepped corners can change the outline of the window.
Deep bevels and fillets
A deeper angled mount edge, or a narrow decorative timber moulding inside the aperture.
Spacers
Create depth between the artwork and glazing. Their colour can become part of the design too, including the coloured options in Essential.
These details can be combined. We’ll look at what works with your artwork, rather than adding decoration for its own sake.
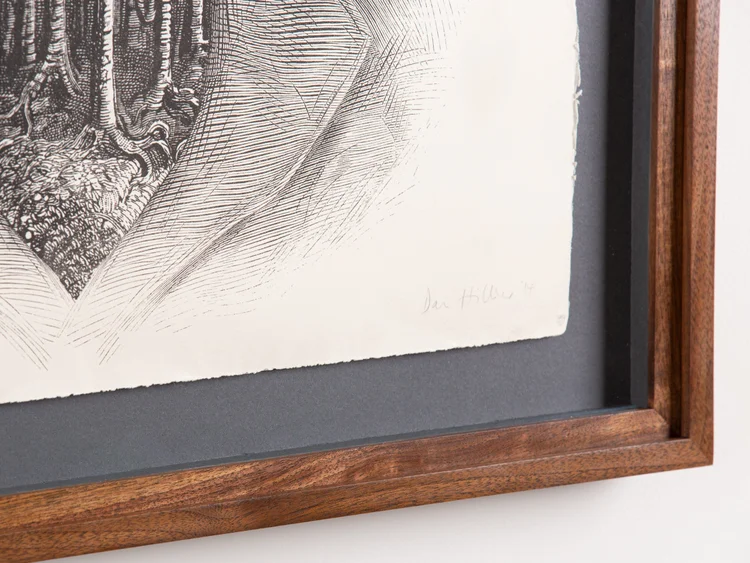
Conservation and museum framing
The level of preservation involves the whole frame, not just the visible mount. We’ll discuss what is appropriate for your artwork.
Mountcard and barriers
Museum grade cotton mountcard is made from 100% cotton fibres, avoiding the lignin found in ordinary wood pulp. Conservation grade mountcard can also be made from purified, lignin free wood pulp. Unsuitable boards and acidic materials can discolour paper and, over time, weaken it and make it brittle.
For museum framing, the rebate inside a timber frame should be lined with a suitable barrier to help isolate the artwork and mount package from acids and other potentially damaging substances in the wood. Additional barrier boards can be included where appropriate.
Hinges and wheat starch paste
I use hinging papers in different weights, down to almost translucent Japanese tissue. The long kozo fibres allow the tissue to be exceptionally fine while retaining strength.
Wheat starch paste is a traditional adhesive used in conservation and museum framing. I prepare it to suit the artwork and hinges, adjusting its consistency and application for the job.
Reversible techniques
These are designed to allow the mounting to be undone and the artwork returned to its condition before framing. What is possible depends on the artwork’s materials and condition; it isn’t a guarantee against damage or ageing. Close Mounted uses permanent adhesive and is not reversible.
Glazing, backing and the rest of the frame construction need to work together too.
Other mounting methods, canvases and objects
Without adhesive on the artwork
Corners and edge supports can secure suitable artwork without attaching adhesive to it. Photographic corners can be useful for sensitive photographs, including suitable C type prints.
Inset mounts
A recessed layer between the window mount and backing makes room for thicker or uneven artwork. Where suitable, the mount can be constructed to secure the artwork without adhesive attachment.
Canvas stretching
I stretch suitable canvases over wooden stretcher bars before framing. Photographs and measurements help me assess the canvas, its condition and the material available around the image.
Boards, panels and objects
These are assessed individually. Fittings and mounting methods need to suit the artwork’s weight, thickness and condition. I use reversible methods wherever suitable.
Looking after your frame
Handling, hanging and cleaning
Handling, hanging and Essential finishes
Carry your frame upright, supported at each side. Avoid lifting it by the top edge or twisting it. Keep it wrapped if you’re storing it, on a stable padded surface, and don’t stack other items on top.
Essential frames use selected pre finished Ayous timber mouldings. Ayous is lightweight, and the finishes need care around edges and corners, where knocks can leave marks, chips or dents. Avoid resting the frame directly on hard surfaces.
Use fixings suited to the frame, its hanging fittings and your wall. Two fixing points can help where the fittings allow. If you’re unsure about large or heavy work, ask a professional installer.
Cleaning standard glass and Artglass AR70
Use a clean, soft microfibre cloth. If needed, apply a small amount of suitable ammonia free, non abrasive glass cleaner to the cloth, rather than spraying the frame. Wipe gently and keep moisture away from the edges, frame finish and artwork.
Avoid abrasive pads, blades and harsh cleaning products, which can scratch glass or damage specialist coatings.
Light, heat and humidity
Avoid direct sunlight, radiators and places with large changes in temperature or humidity, such as bathrooms. UV filtering glazing does not prevent all light damage. Tell me if you have a particular location in mind.